Toyota Sewing Machine Instruction Manual: A Comprehensive Guide
Toyota sewing machine manuals offer detailed guidance, covering models like Super J15B, Quilt60, 6700, 6800, and 4081, ensuring optimal performance and longevity.
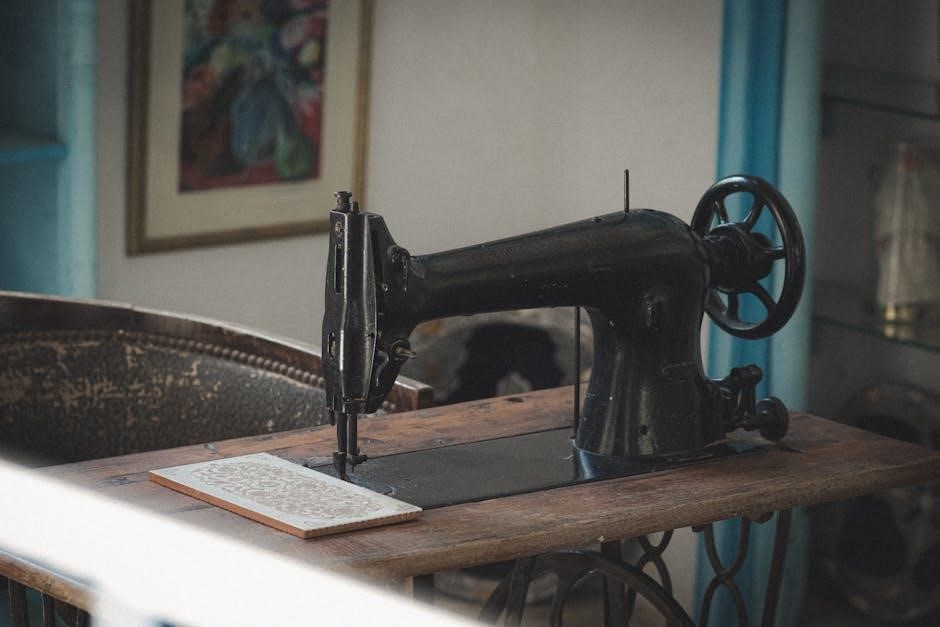
Toyota sewing machines have a long-standing reputation for reliability, precision, and innovative design, becoming a trusted choice for both beginner and experienced sewers. From basic mechanical models to advanced computerized machines, Toyota caters to a diverse range of sewing needs and skill levels. This comprehensive guide aims to provide users with the necessary information to effectively operate and maintain their Toyota sewing machine.
Whether you own a classic Toyota like the Super J15B, a quilting-focused machine such as the Quilt60, or a more modern model like the 6700 or 6800, understanding your machine’s features and functions is crucial. Accessing the correct instruction manual is the first step towards unlocking your machine’s full potential. Toyota offers a wide variety of models, including those for specialized tasks, and this guide will help navigate the specifics of each.
This manual will cover everything from basic operation to troubleshooting common issues, ensuring a smooth and enjoyable sewing experience. Remember to always prioritize safety and follow the recommended maintenance procedures to prolong the life of your Toyota sewing machine.
Understanding Toyota Sewing Machine Models
Toyota offers a diverse range of sewing machine models, each designed with specific features to cater to different sewing needs. The Super J15B is a popular bobbin winder model, while the Quilt60 excels in pattern stitches and one-step buttonholes, ideal for quilting enthusiasts. More advanced models like the 6700 and 6800 offer multi-stitch embroidery capabilities, expanding creative possibilities.
Understanding the distinctions between these models is key to utilizing their full potential. The Model 4081 represents a basic, yet reliable machine, perfect for beginners. Specialized series, like the SP series (including ECO and Super Jeans), cater to heavier fabrics and specific applications. Identifying your model number is the first step in accessing the correct instruction manual and support resources.
Toyota also produces serger machines, such as the 6700 Serger, capable of 3/4 thread sewing. Exploring the features of each model ensures you select the machine best suited to your projects and skill level, maximizing efficiency and enjoyment.

Locating Your Sewing Machine’s Model Number
Finding your Toyota sewing machine’s model number is crucial for downloading the correct instruction manual and accessing specific support. The model number is typically located on a sticker or plate affixed to the machine itself. Common locations include the underside of the machine base, the back panel, or near the bobbin area.
Carefully inspect these areas, looking for a combination of letters and numbers – this is your model identifier. For example, you might find “Super J15B”, “Quilt60”, “Model 6700”, “Model 6800”, or “Model 4081”. If you’ve purchased the machine recently, check the original packaging or sales receipt; the model number is often printed there.
Once located, accurately record the model number. This information is essential when searching for manuals online via the official Toyota sewing machine support page, ensuring you receive the precise instructions for your specific machine. Accurate identification streamlines troubleshooting and maximizes your sewing experience.
Downloading Toyota Sewing Machine Manuals Online
Accessing Toyota sewing machine manuals online is a convenient way to obtain instructions for your specific model. The official Toyota sewing machine support page is the primary resource for downloadable PDF manuals. Simply visit the support page and either enter your machine’s model number directly into the search bar or select it from the provided list.
Once your model is identified, the corresponding manual will be available for download in PDF format. This allows you to easily view, save, and print the instructions for future reference. Ensure you have a PDF reader installed on your device to open the downloaded file.
Downloading the manual provides detailed guidance on operation, maintenance, and troubleshooting, specific to models like the Super J15B, Quilt60, 6700, 6800, and 4081. This digital access ensures you always have the necessary information at your fingertips, enhancing your sewing experience.
Common Features Across Toyota Models
Toyota sewing machines, despite model variations like the Super J15B, Quilt60, 6700, 6800, and 4081, share several core features. These include a robust construction designed for durability and consistent performance. Most models offer a selection of stitch patterns, catering to diverse sewing projects, alongside a one-step buttonhole function for efficient button attachment.
A common element is the bobbin winding and threading system, though specifics may vary slightly between models. Many Toyota machines also feature adjustable stitch length and width, providing customization for different fabrics and techniques. Automatic zigzag and multi-stitch capabilities are prevalent in higher-end models, enhancing versatility.
Furthermore, Toyota prioritizes user-friendliness, incorporating clear markings and intuitive controls across its range. These shared characteristics contribute to the brand’s reputation for reliability and ease of use, regardless of the specific model chosen.
Basic Machine Parts Identification
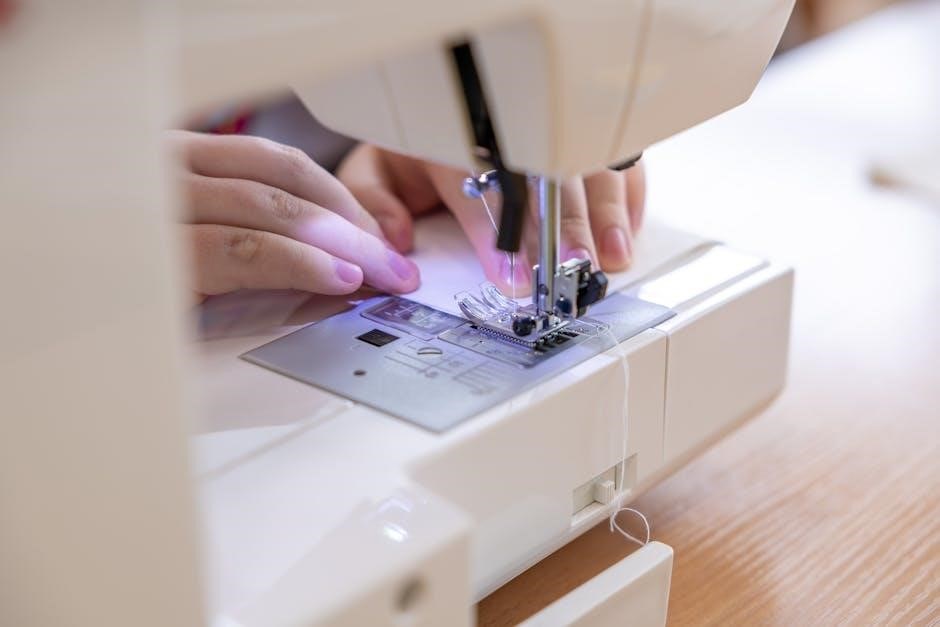
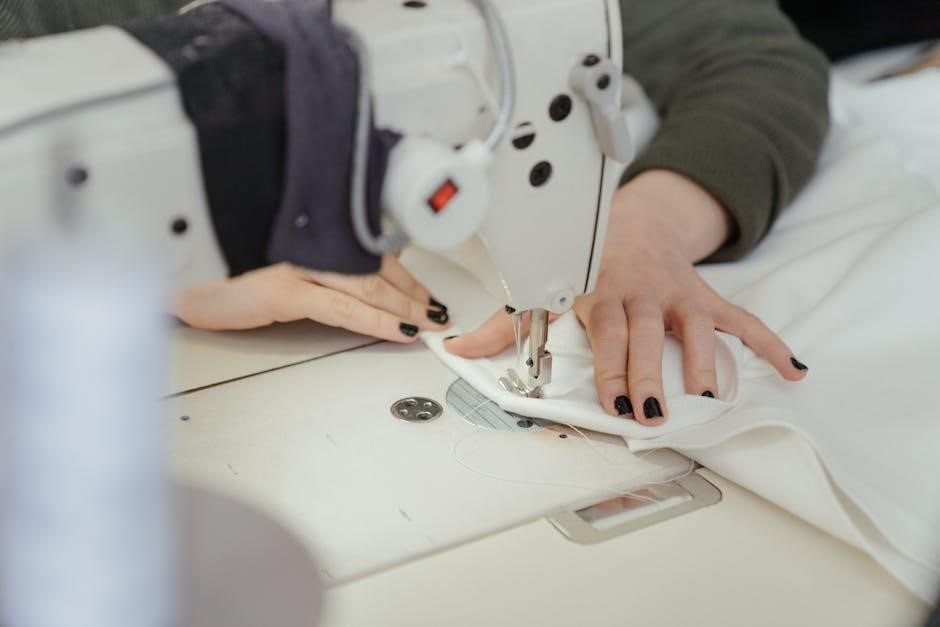
Understanding the core components of your Toyota sewing machine – regardless of model (Super J15B, Quilt60, 6700, 6800, or 4081) – is crucial for operation and maintenance. The power switch initiates operation, while the handwheel allows manual control for precise stitching. The spool pin securely holds the thread spool, guiding it to the tension discs.
The take-up lever regulates thread flow, ensuring even stitches. The needle clamp firmly secures the needle, and the presser foot applies pressure to the fabric. Below the needle plate lies the feed dogs, which advance the fabric during sewing. The bobbin case and bobbin work together to create the lower stitch.
Finally, the stitch length and width dials control the appearance of your stitches. Familiarizing yourself with these parts, as detailed in your model’s manual, will greatly enhance your sewing experience and facilitate troubleshooting.
Stitch Selection and Adjustment
Toyota sewing machines, including models like the Super J15B, Quilt60, 6700, 6800, and 4081, offer a variety of stitch options. Stitch selection is typically managed via dials or electronic controls, allowing you to choose from straight stitch, zigzag, and decorative patterns. The manual details each stitch’s purpose and recommended settings.
Adjusting stitch length controls the distance between stitches, impacting fabric strength and appearance. Shorter stitches are ideal for delicate fabrics, while longer stitches suit heavier materials. Stitch width adjusts the breadth of zigzag or decorative stitches, influencing pattern density.
Proper adjustment ensures consistent, professional-looking results. Refer to your specific model’s manual for detailed guidance on stitch selection and fine-tuning these parameters. Experimenting with different settings is encouraged to achieve desired effects.
Bobbin Winding and Threading
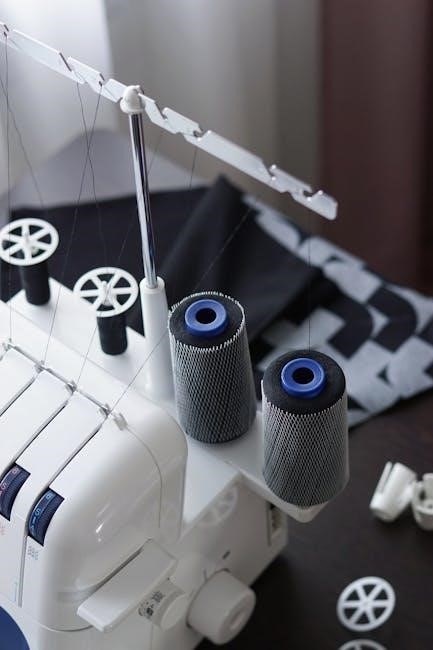
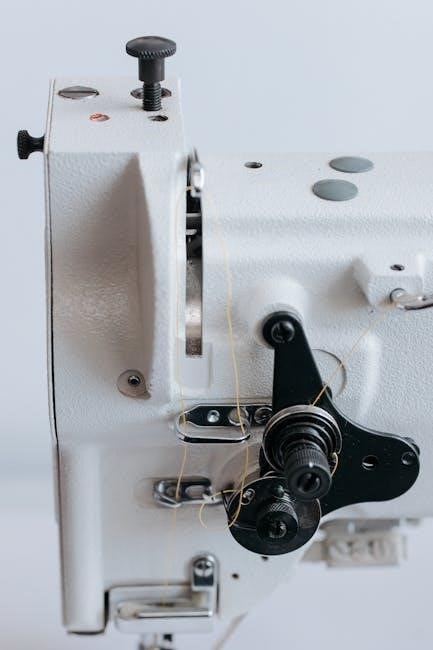
Toyota sewing machines, across models like the Super J15B, Quilt60, 6700, 6800, and 4081, require correctly wound bobbins for smooth operation. Bobbin winding typically involves placing the thread spool on a designated holder and guiding the thread through tension discs before winding onto the bobbin. The manual illustrates the correct winding path and tension settings.
Threading the machine involves following a numbered diagram, ensuring the thread passes through all guides, tension discs, and finally, the needle. Incorrect threading can cause skipped stitches or tension issues. Always raise the presser foot before threading to release tension.
Refer to your model’s manual for specific threading instructions, as paths vary. Consistent, proper threading and bobbin winding are crucial for achieving optimal stitch quality and preventing machine malfunctions.
Troubleshooting Common Issues
Toyota sewing machines, while reliable, can occasionally encounter issues. Common problems include thread breakage and needle breakage, often stemming from incorrect threading, tension imbalances, or using the wrong needle type for the fabric. Always consult your model’s manual (Super J15B, Quilt60, 6700, 6800, 4081) for specific guidance.
Thread breakage can be resolved by re-threading the machine correctly, ensuring the thread path is clear and the tension is appropriately adjusted. Needle breakage often indicates a bent or dull needle, or attempting to sew through overly thick material.
Tension adjustments are critical; too tight a tension causes puckering, while too loose a tension results in looping. The manual provides detailed instructions for adjusting tension settings. Regular maintenance, as outlined in the manual, can prevent many issues.
Thread Breakage Problems
Toyota sewing machine thread breakage is a frequent issue, often easily resolved. First, re-thread the entire machine, meticulously following the diagram in your model’s manual (Super J15B, Quilt60, 6700, 6800, 4081). Ensure the thread is properly seated in all guides and the tension discs. A common cause is an obstruction in the thread path – carefully inspect for lint or debris.
Incorrect tension is a major culprit. If the tension is too tight, the thread will snap under stress. Loosen the upper tension slightly and test. Conversely, if the tension is too loose, it can cause looping and eventual breakage.
Using the wrong thread type or a low-quality thread can also lead to breaks. Always use thread appropriate for your fabric. Finally, a dull or damaged needle increases friction, contributing to thread breakage; replace it.
Needle Breakage Solutions
Toyota sewing machine needle breakage can be alarming, but is often preventable. The most frequent cause is bending the needle when sewing over pins. Always remove pins before the needle reaches them, or use a specialized pin-sewing foot. Ensure you’re using the correct needle type and size for your fabric weight – a fine needle on heavy denim will likely break.
Incorrect threading or tension can also strain the needle. Double-check your threading path (relevant for models like Super J15B, Quilt60, 6700, 6800, and 4081) and adjust the tension if needed. A dull needle requires more force, increasing the risk of breakage; replace it regularly.
Finally, forcing the fabric through the machine can cause excessive stress. Let the feed dogs do the work, and avoid pulling or pushing the material. Inspect the needle for any bends or damage before each use.
Tension Adjustment Guide
Toyota sewing machine tension is crucial for balanced stitches. Incorrect tension results in looping, puckering, or weak seams – impacting models like the Super J15B, Quilt60, 6700, 6800, and 4081. Begin by threading the machine correctly, as improper threading is a common culprit. Test stitch on a scrap of the fabric you’ll be using.
If the top thread loops on the underside, the upper tension is likely too loose; increase the upper tension dial setting incrementally. Conversely, if the bobbin thread pulls to the top, the upper tension is too tight; decrease the setting. For balanced tension, the threads should interlock evenly within the fabric layers;
Remember to re-thread both the upper and bobbin threads after any tension adjustments. Minor adjustments often yield significant improvements. Consult your specific model’s manual for detailed diagrams and recommended settings.
Specific Model Instructions: Toyota Super J15B
The Toyota Super J15B is a popular, reliable machine known for its versatility. Key features include a built-in bobbin winder and a selection of stitch patterns. When setting up, ensure the bobbin is correctly inserted – a common issue causing skipped stitches. Threading should follow the numbered diagram in your manual precisely.
The Super J15B’s bobbin winder requires holding the thread tail while winding to prevent slippage. For optimal performance, use genuine Toyota bobbins. Stitch selection is straightforward using the dial; experiment with different settings on scrap fabric before starting your project.
Regular cleaning of the feed dogs and bobbin area is vital for smooth operation. Refer to the manual for detailed maintenance instructions. Troubleshooting often involves re-threading and checking the needle for damage.
Specific Model Instructions: Toyota Quilt60
The Toyota Quilt60 excels in quilting and general sewing, boasting a variety of pattern stitches and a convenient one-step buttonhole function. Before beginning, ensure the machine is properly threaded, following the diagram in the manual. Pay close attention to the thread path around the tension discs.
Utilizing the Quilt60’s pattern stitches requires selecting the desired stitch on the dial and adjusting the stitch length and width accordingly. Test each stitch on scrap fabric to achieve the desired effect. The one-step buttonhole feature simplifies creating professional-looking buttonholes.
Regularly clean the bobbin area and feed dogs to prevent lint buildup, which can affect stitch quality. Proper maintenance, as outlined in the manual, will extend the life of your Quilt60. Troubleshooting often involves checking the needle and thread tension.
Specific Model Instructions: Toyota Model 6700
The Toyota Model 6700 is a versatile 3/4 thread serger sewing machine, ideal for finishing edges and creating professional seams. Before operation, confirm correct threading of all looper and needle threads – a crucial step for preventing issues. The included carrying case facilitates portability and storage.
Adjusting stitch length and width is vital for different fabric types and desired finishes. Experiment with settings on scrap material before working on your project. The 6700 offers various stitch options, including overlock, rolled hem, and flatlock. Refer to the manual for specific stitch configurations.
Regular cleaning of the loopers and blades is essential for optimal performance. Oil the machine as directed in the manual to ensure smooth operation. Troubleshooting typically involves re-threading or adjusting thread tension.
Specific Model Instructions: Toyota Model 6800
The Toyota Model 6800 is a multi-stitch embroidery sewing machine, offering a wide range of decorative and functional stitches. Proper threading is paramount for achieving quality results; consult the manual’s diagrams carefully. This model excels in both basic sewing and intricate embroidery projects.
Selecting the appropriate stitch for your fabric and desired effect is key. The 6800 features adjustable stitch width and length, allowing for customization. Utilize the test fabric feature to preview stitch settings before committing to your final project. Experiment with different presser feet for specialized techniques.
Regular maintenance, including cleaning the bobbin area and oiling moving parts, will prolong the machine’s lifespan. Address thread tension issues by carefully adjusting the dials, referencing the manual’s troubleshooting guide.
Specific Model Instructions: Toyota Model 4081
The Toyota Model 4081 is a fundamental, yet reliable, sewing machine ideal for beginners and everyday sewing tasks. This basic machine prioritizes simplicity and ease of use. Correct threading is crucial; the manual provides clear, step-by-step illustrations to guide you through the process. Ensure the presser foot is down before beginning to sew.
Stitch selection is straightforward, offering a range of straight, zigzag, and decorative stitches. Adjust stitch length and width according to your fabric type and project requirements. Practice on scrap fabric to perfect your settings before working on your final piece.
Regular cleaning of the bobbin area and lint removal are essential for maintaining optimal performance. Proper needle selection is also vital; use the correct needle type for your fabric weight. Refer to the manual for guidance on needle sizes.
Maintenance and Care
Regular maintenance is vital for extending the life of your Toyota sewing machine and ensuring consistent performance. Always unplug the machine before performing any cleaning or maintenance tasks. Lint and dust buildup can impede operation, so routinely clean the bobbin area and feed dogs with a brush.
Oil key lubrication points as indicated in your model’s manual – typically around the bobbin case, needle bar, and motor. Use only sewing machine oil; other lubricants can cause damage. Inspect the needle regularly for bends or damage, replacing it as needed.
Keep the exterior clean with a soft, dry cloth. Avoid using harsh chemicals or abrasive cleaners. Store your machine covered to protect it from dust and sunlight. Following these simple steps will help maintain your Toyota’s reliability for years to come.
Safety Precautions
Prioritize safety when operating your Toyota sewing machine. Always disconnect the power cord before threading, changing the needle, or performing any maintenance. Keep fingers away from the needle while the machine is running – serious injury can occur.
Never force the fabric under the needle; let the machine feed the material. Use the correct needle type and size for your fabric to prevent breakage and potential hazards. Ensure the area around the machine is well-lit and free of obstructions.
Supervise children closely when they are near a sewing machine. Do not operate the machine if the power cord or plug is damaged. If any unusual noises or vibrations occur, immediately stop the machine and consult a qualified technician; Following these precautions will ensure a safe sewing experience.